Test: Foxconn Blackops - UK
Bundkort, Intel d. 19. juli. 2008, skrevet af Polarfar 0 Kommentarer. Vist: 19146 gange.
Billed behandling:
Oversættelse:
Pristjek på http://www.pricerunner.dk
Produkt udlånt af: Foxconn
DK distributør: Frode Herløv
BIOS
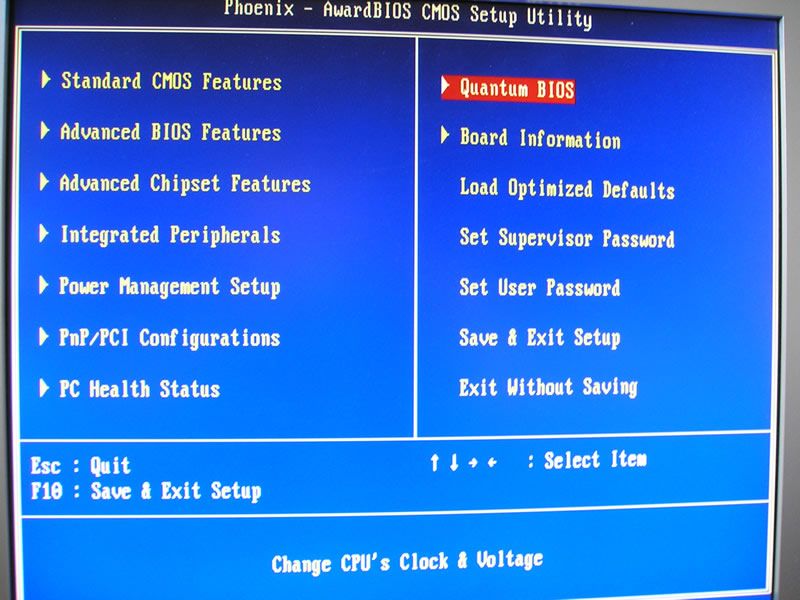
The BIOS system is AWARD based, and Foxconn have then added their own Quantum menu where all the parameters for adjustments and overclocking are present.
The Quantum menu is again divided into sub-menus to make it easier to find the individual settings. It is actually quite a job to make an extensive and yet manageable BIOS, but I think Foxconn get away with it nicely.
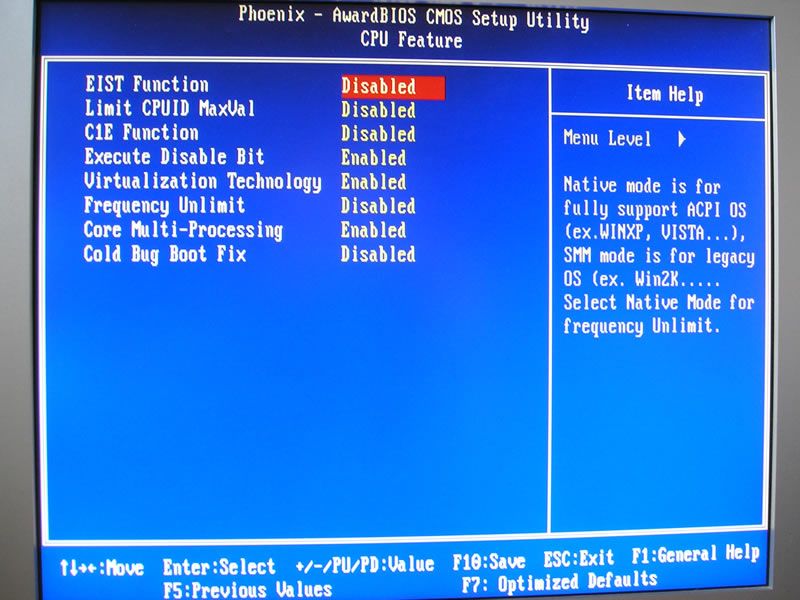
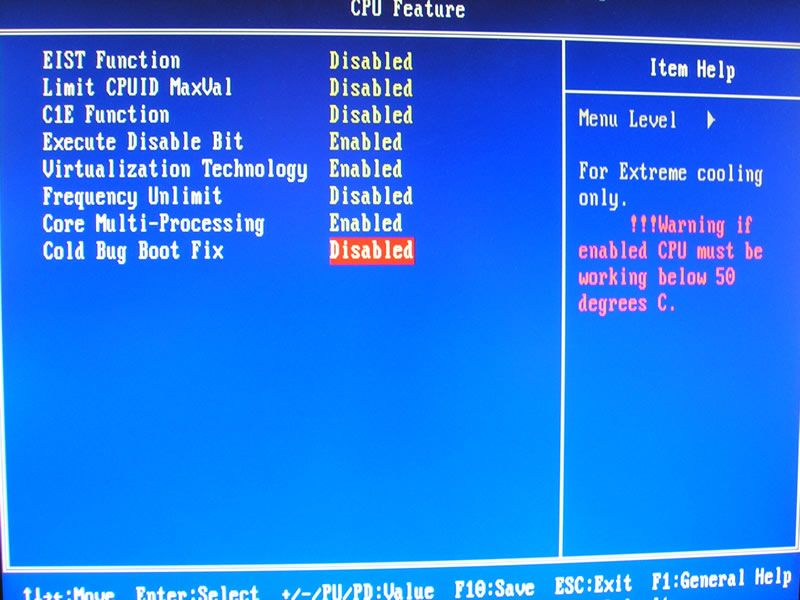
First we find the cpu settings. Here you can change wich cpu feature you want to enable, ie. if the powersaving features, EIST and C1E, and also Virtualization, Execute Disable Bit and others.
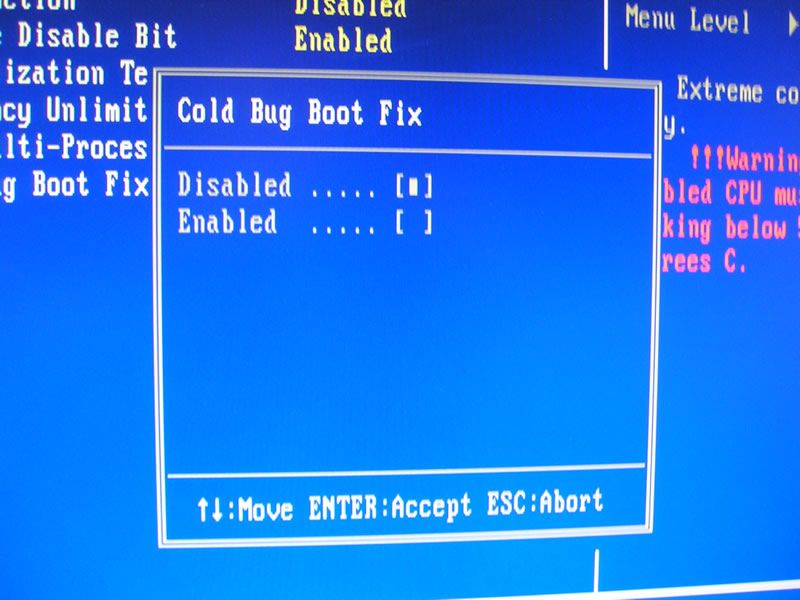
Did you notice the Cold Bug Fix option at the bottom. You need to go below -50C before using it, so I am guessing it puts a few amperes through the cpu to heat it up before powering on. With more conventional cooling like air and water you will not have to use it.
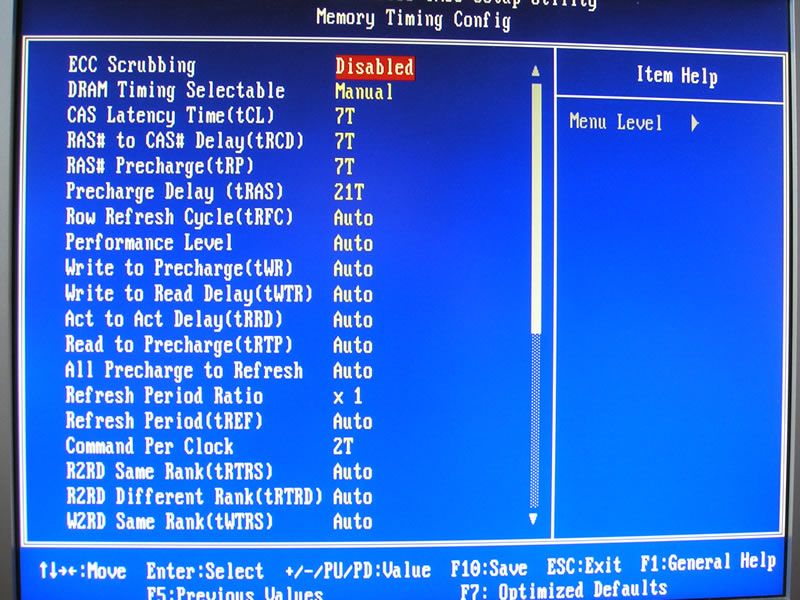
Next we find memory timing. It is very extensive in itself, and almost reaches DFI-ish heights with all the options.
Here is one screenshot, but as you can tell from the scrollbar on the right, you have twice as many options as shown. Here I have manually set my DDR3's at 7-7-7-21 2T. And we are not done with the memory options at all.
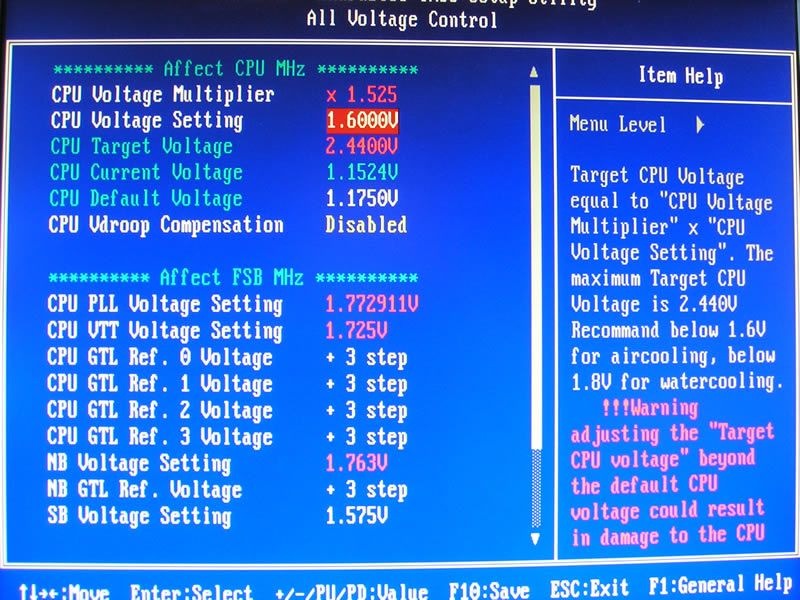
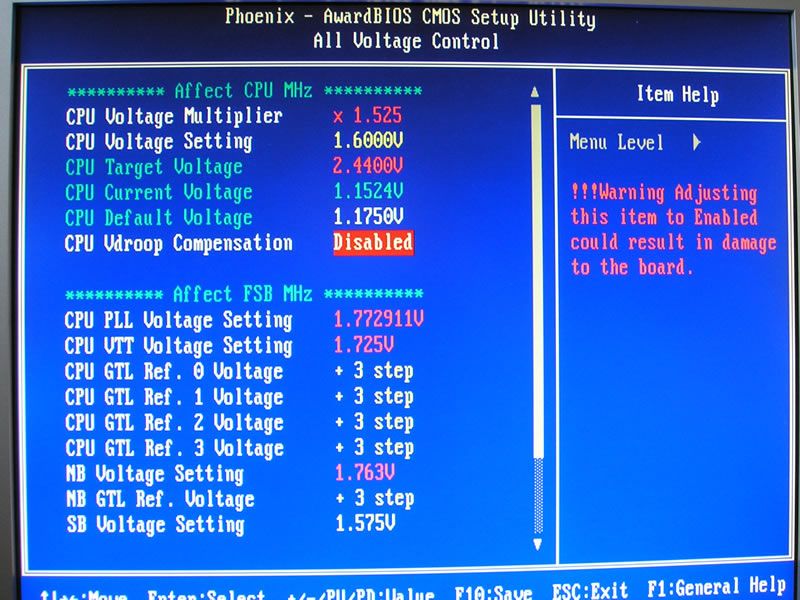
The next menu is All Voltage Control. The title says it all. Everything you need to heat up your hardware is found here.
Vcore is set in two steps. A basic voltage and a divider to get you all the way to 2.44V. That is almost double the stock voltage of a 45nm cpu. If you have already mounted the dry-ice pot on the northbridge, you might want to do the same for the cpu if you plan on maxing out the Vcore.
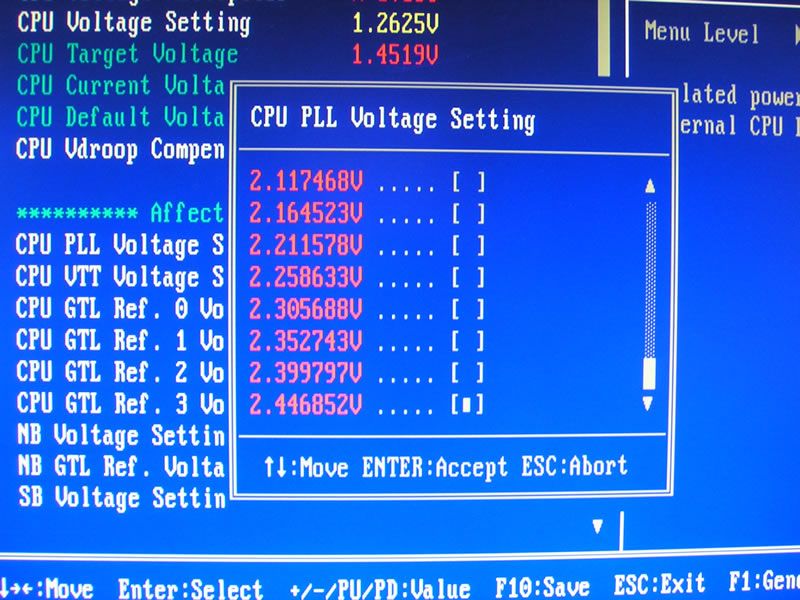
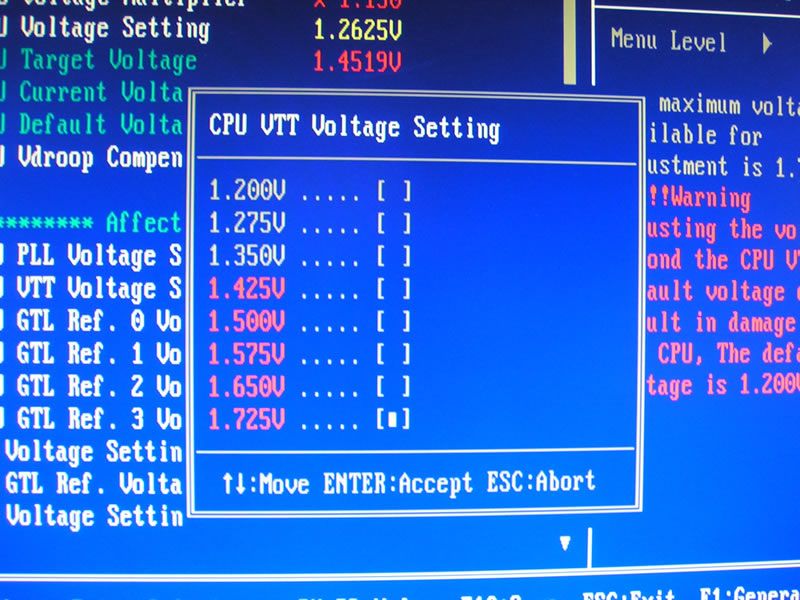
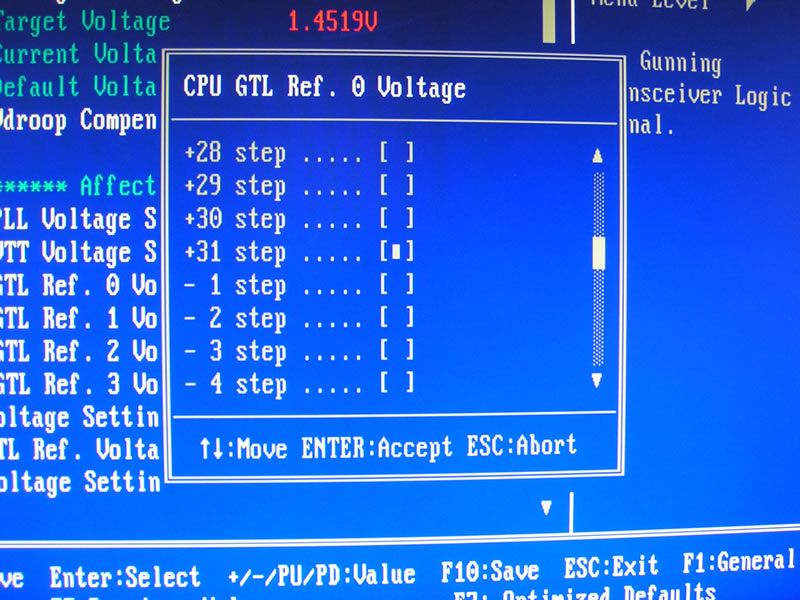
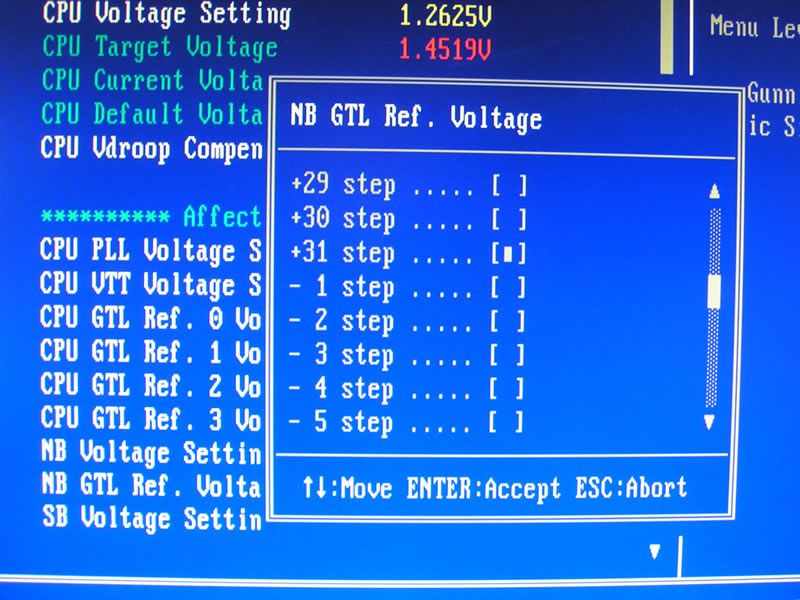
PLL, VTT and GTL Ref signalling leve can also be adjusted. In other word there are plenty of tweak options on the cpu. The northbridge is next in line.
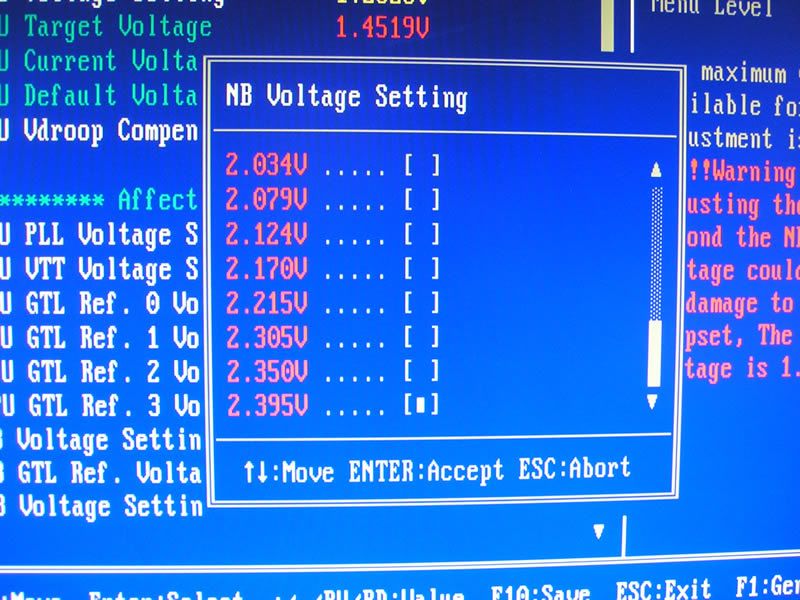
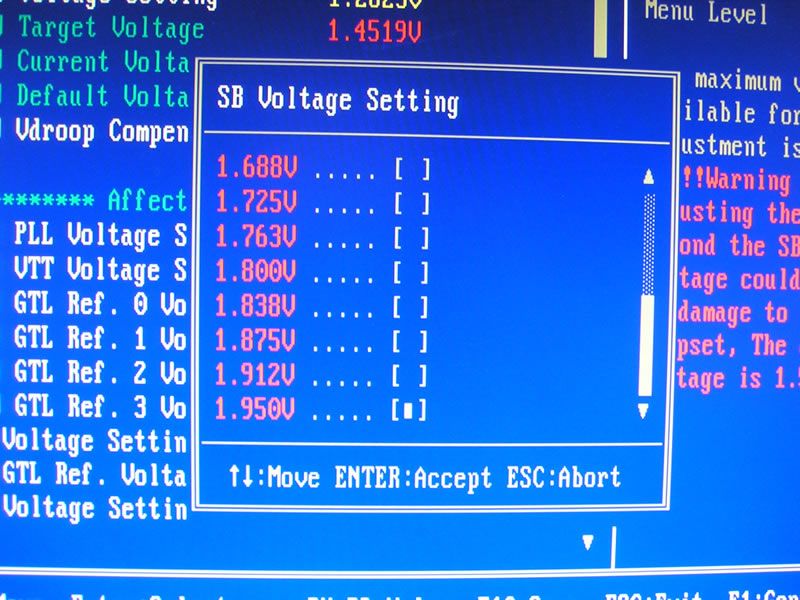
Here you can go all the way to 2.395 Volts, and you can also adjust the GTL Ref signalling leves on this one. There are +/-31 steps on all the GTL Ref options, so have a blast. On the other end of the board we find the southbridge and a maximum 1.95 Volts.
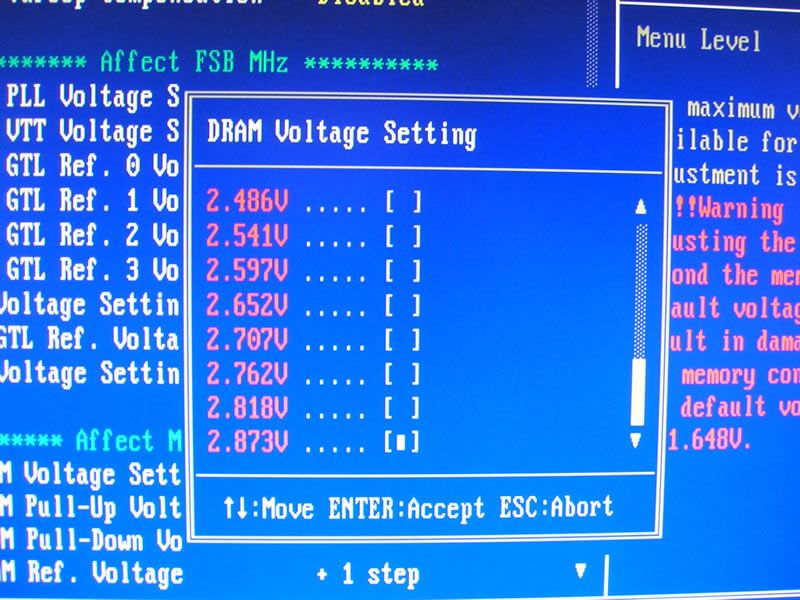
This brings us back to the memory modules again. We find plenty of voltage to put the heat on your expensive DDR3's.
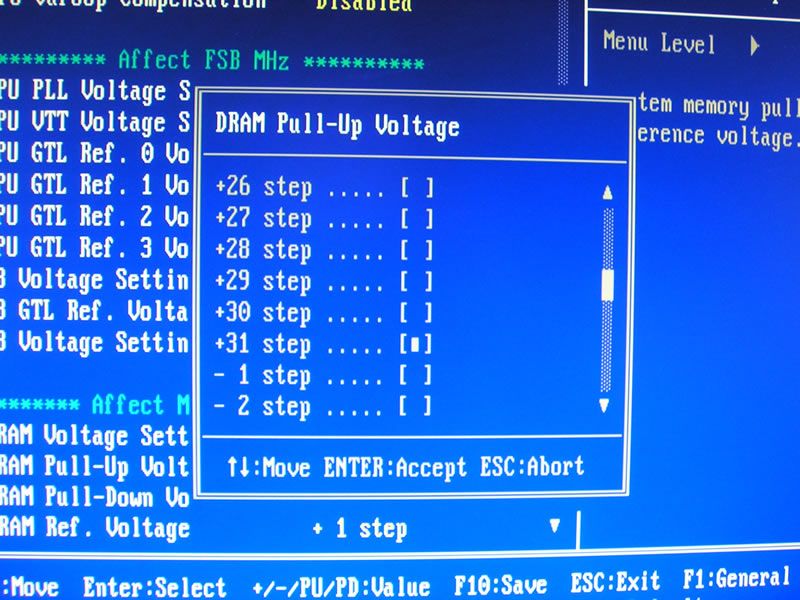
Here too we find a 31 step signal level option or the pull up/pull down voltage. This has to do with stabilizing the clockpulses when the electronics are overclocked.
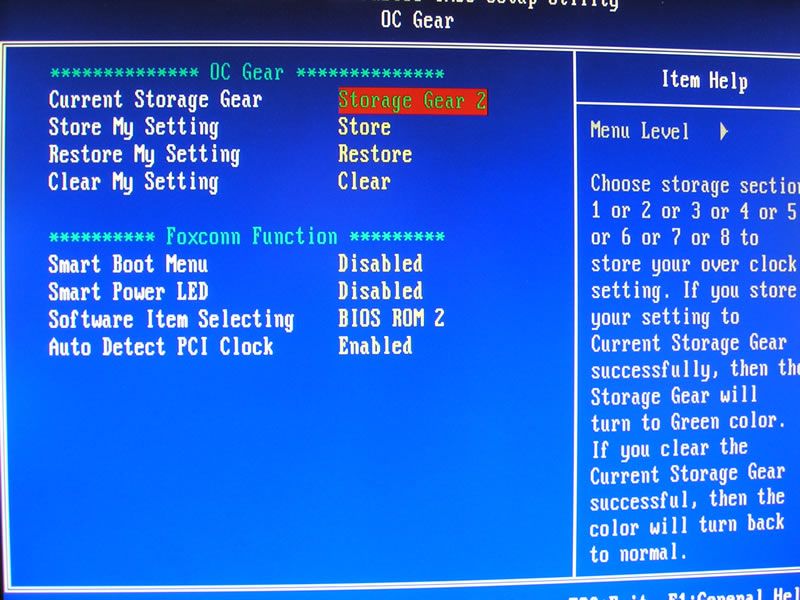
In the OC Gear menu you have the option of saving your settings when you find a good starting point, or permanent overclock. I used this feature succesfully when I was testing for maximum speeds. This way you do not have to memorize what you did, and minor changes that pushes you over the edge will not get you back to square one. Just reset the BIOS on the yellow button and load the stored setup when the board reboots.
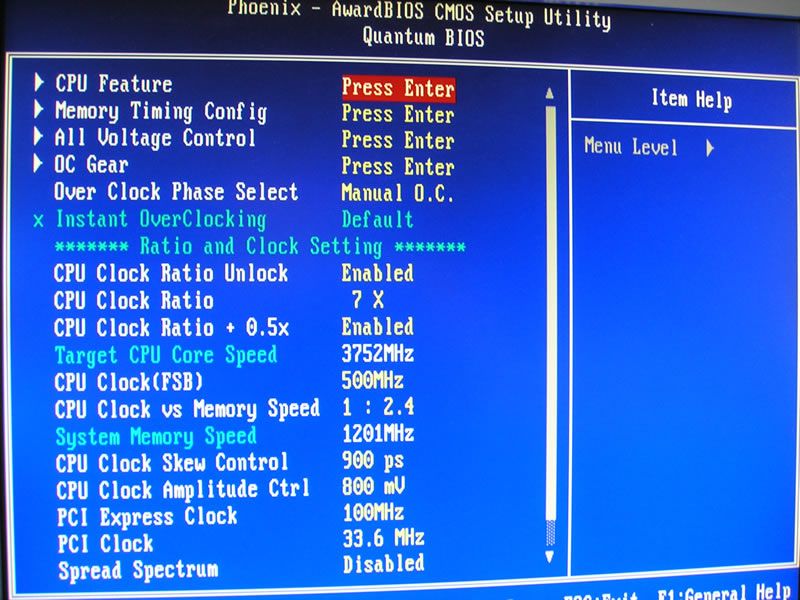
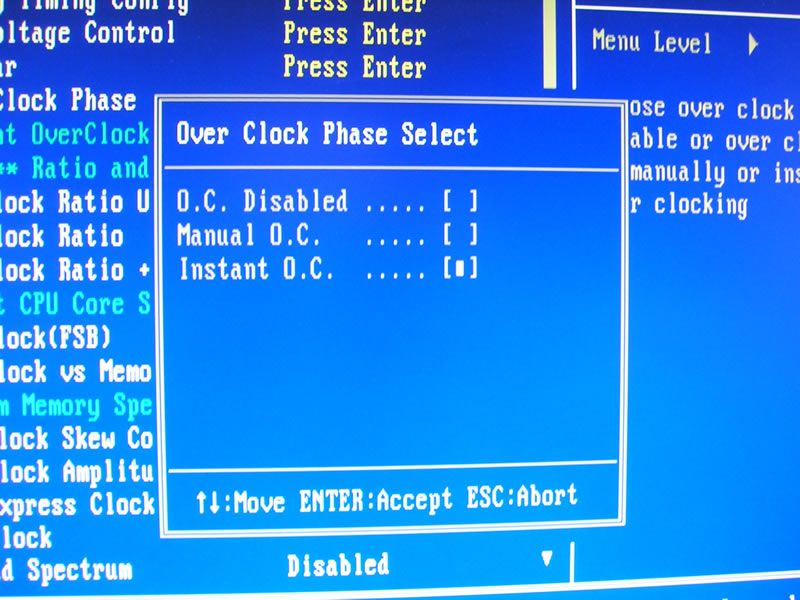
Next we have the OC Clock Phase selection. You can go for stock speed ( shame on you ), Instant overclocking or manual control.
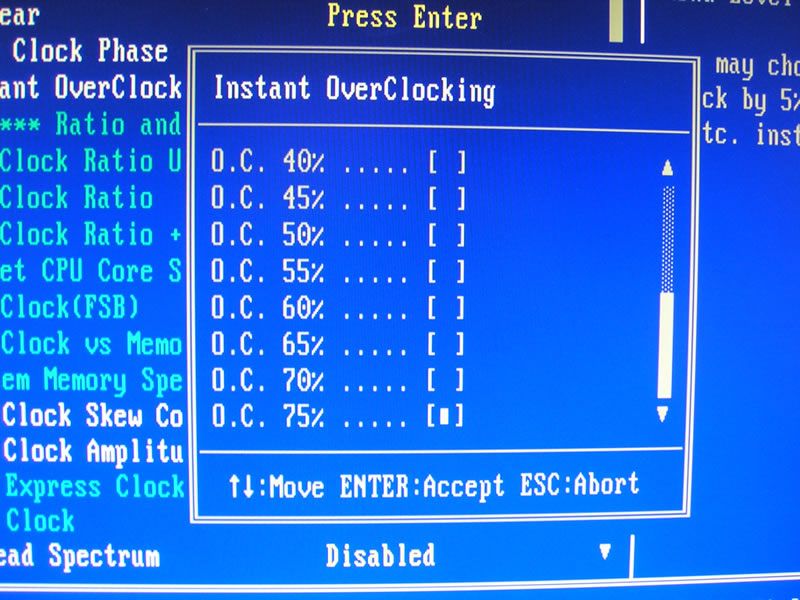
Så let us just go all the way and select the out-of-the-box 75% overclock and get it over with, and hope the board does something right, eh. I hate to tell you this, but it is just not that easy. You need some pretty hardcore gear to go to 75%, and in all instances I prefer doing my OC in manual mode, where I can control what is going on. But do not let me discourage you from trying.
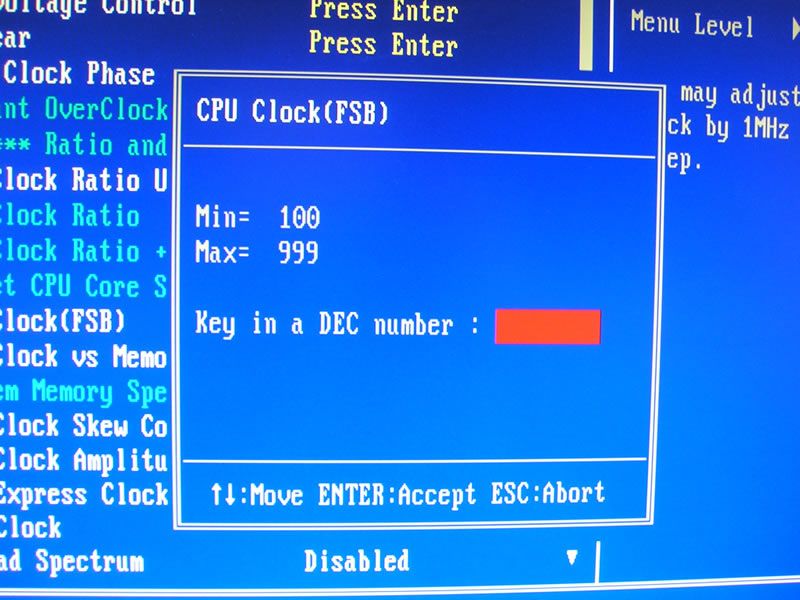
We have reached the land of busfrequencies, and like we saw on the MARS, there are no limits to our effords.
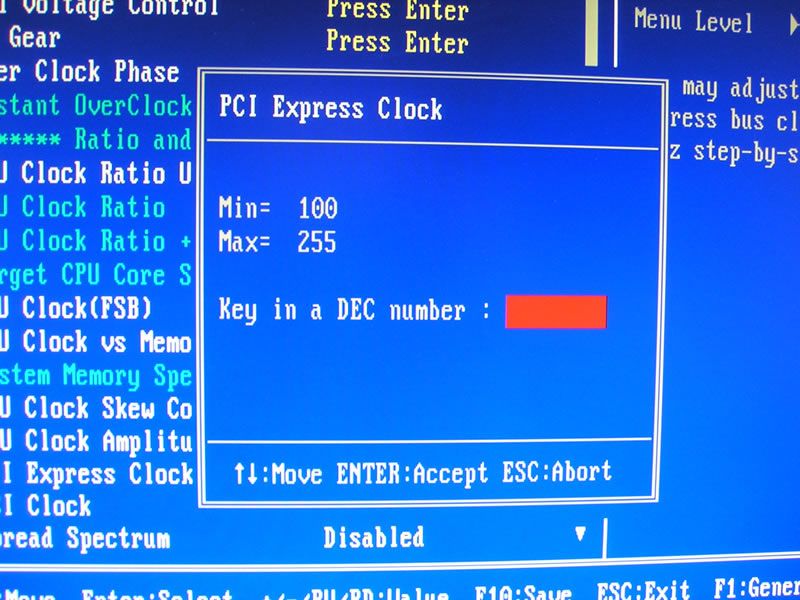
With a maximum of 999MHz on the cpu fsb, and 255MHx for PCIe, the hardware can be maxed out for sure.
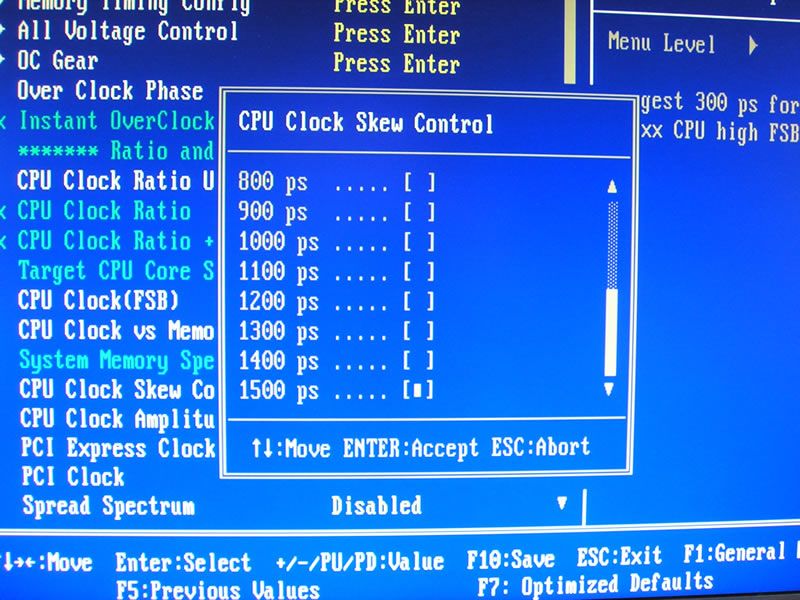
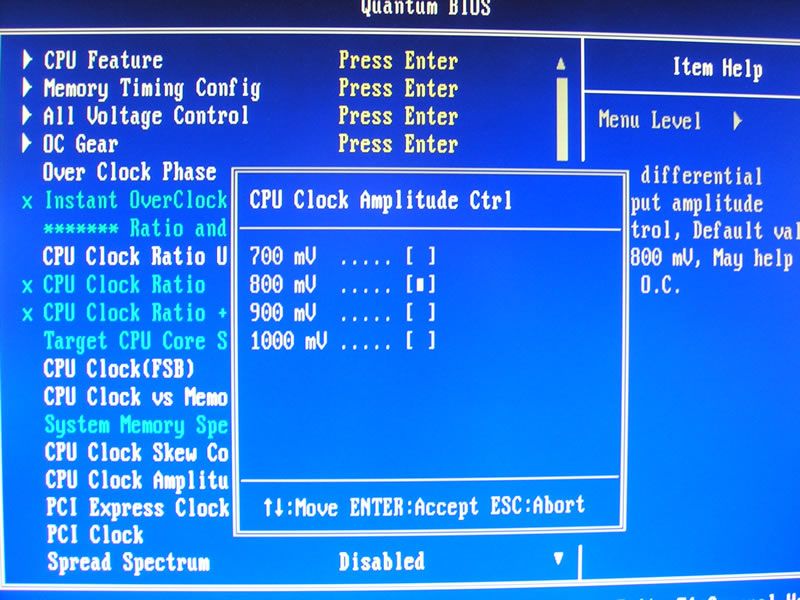
And we have more in store for the cpu.
Skew and amplitude control can adjust the timing of clockpulses for the northbridge and their size. It is not nescessarily a good idea to raise these voltages as it will affect the risetimes on the pulses, thereby achieving the opposite of what you hoped for. You have to just try and see.
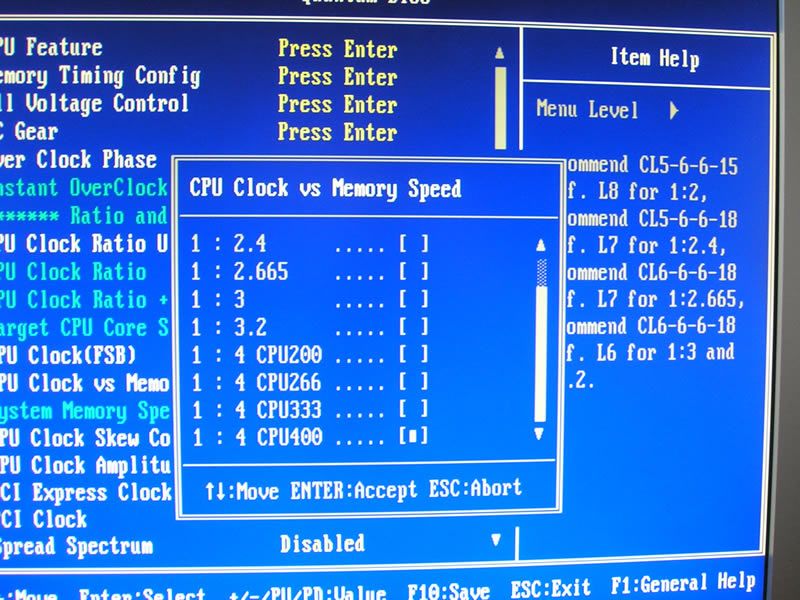
Memory and cpu dividers are also present.
Not a lot to add here.
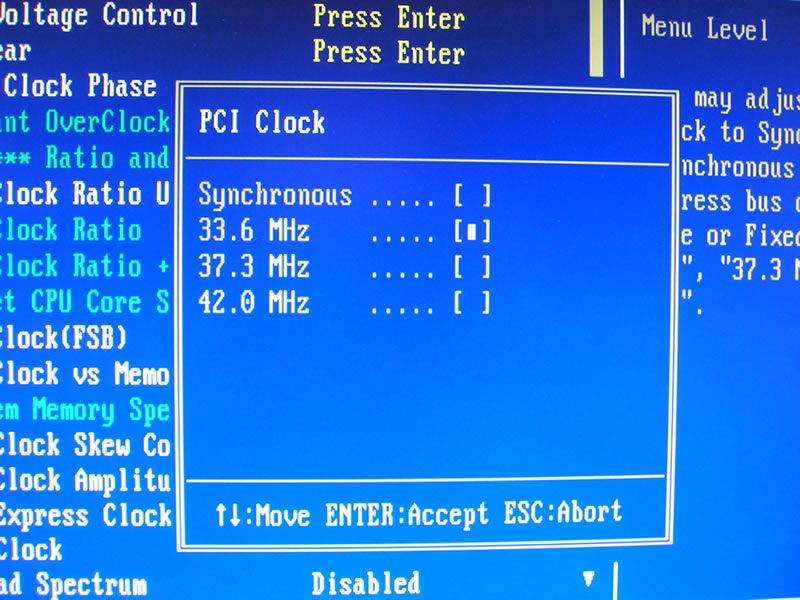
PCI sockets can have the speed fixed.
I have not experienced any difference in OC potential from these settings, but then again I have not used any PCI addon cards.
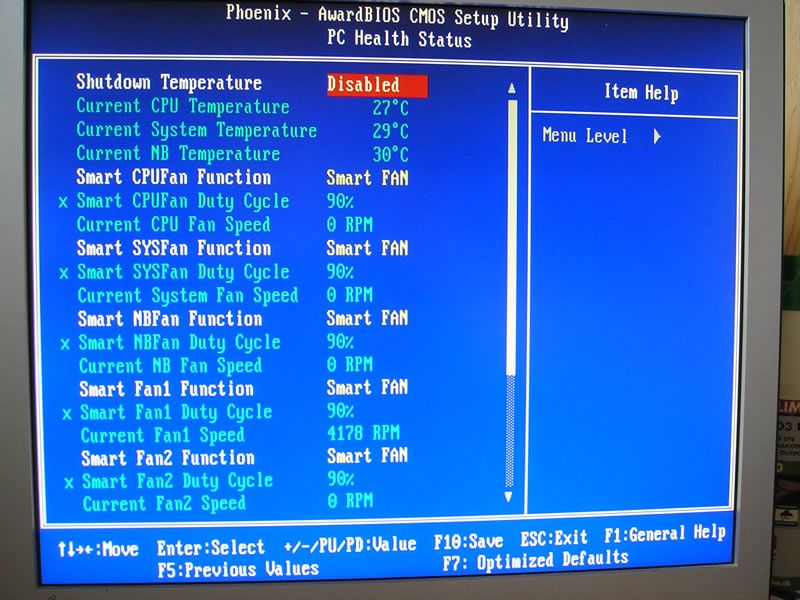
The final shot is from the hardware monitor, or PC Health status.
If you attach any fans to the plugs you will find that they start up at full speed and then slow down according to the Smart Fan control. It is a good way of doing it, as you make sure all fans start rotating. You can also choose a fixed level or go full throttle on all fans.
It is, as I have said already, a very extensive BIOS Foxconn have supplied us with, but it is easy to navigate through all the sub-menus, and also easy to work with once you get the hang of it.
Anmeld
Information

